The best time to install sod in San Diego is late September through November for warm-season grasses (bermuda, kikuyu, zoysia, St. Augustine), and October through February for tall fescue. Soil temperature drives root establishment: warm-season grasses root fastest when soil is 60–85°F, fescue when it’s 50–70°F. San Diego’s mild winters make fall the longest, most forgiving window for either grass type.
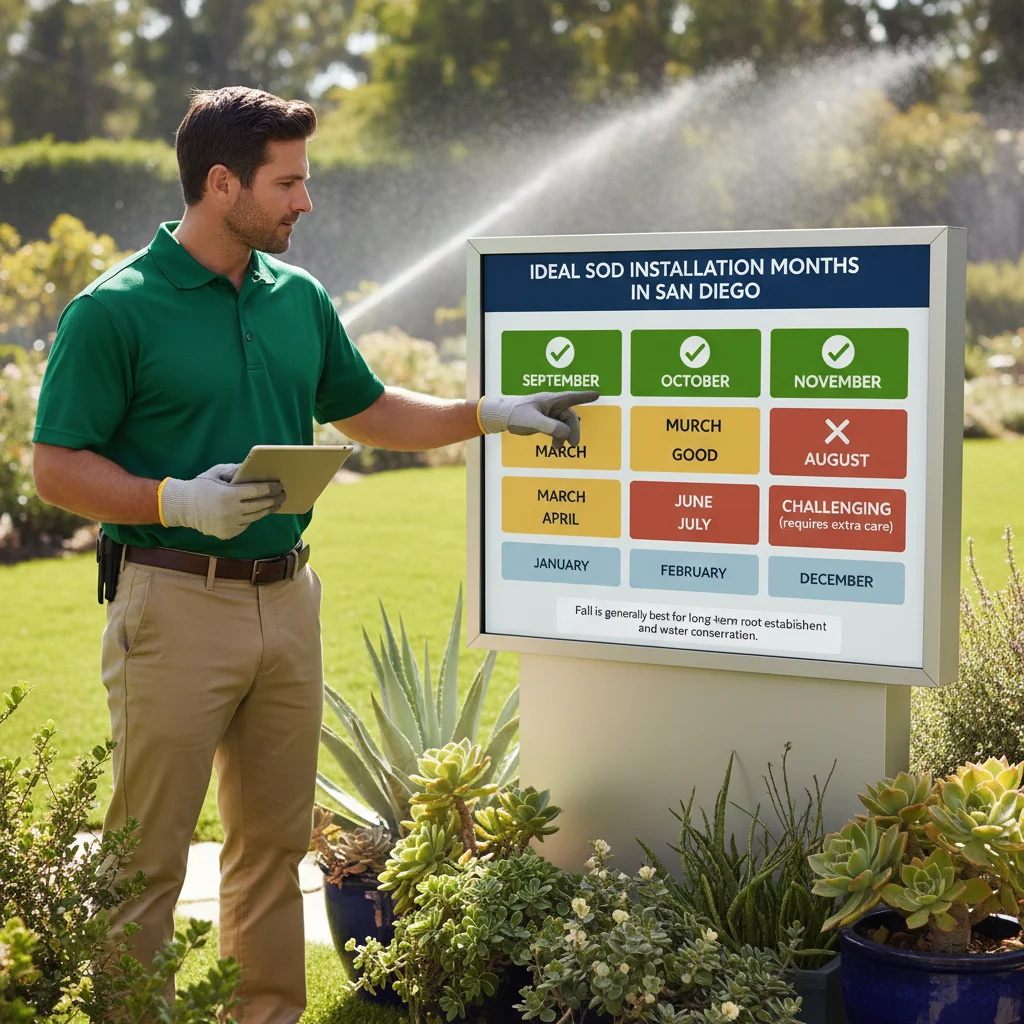
Month-by-month sod timing in San Diego
| Month | Warm-season (bermuda, kikuyu, zoysia, St. Augustine) | Fescue (cool-season) | Notes |
|---|---|---|---|
| Jan | Poor, dormant, no rooting | Good | Coastal OK; inland frost risk |
| Feb | Poor | Good | Soil warming inland by late Feb |
| Mar | Fair | Fair | Both root, but weeds surge |
| Apr | Good | Marginal, heat coming | Watch for late heat waves |
| May | Good | Poor, heat stress likely | Last safe month for fescue |
| Jun | Risky, needs 3x/day watering | Avoid | Coastal: OK with discipline |
| Jul | Risky | Avoid | Inland heat can kill new sod fast |
| Aug | Risky | Avoid | Hottest month; high failure rate |
| Sep | Best, soil warm, air cooling | Fair, still warm | Prime window opens mid-September |
| Oct | Best, ideal soil temp | Best | Best month for both grass types |
| Nov | Good, root growth strong | Good | Coastal stays warm enough |
| Dec | Fair, slow but steady | Good | Inland: check overnight lows |
Coastal vs. inland note: Coastal zip codes (92014, 92037, 92130, 92024) stay 8–12°F cooler than inland areas (El Cajon, Santee, Lakeside, Ramona). Coastal lawns have a wider summer window and a longer fall window. Inland sod laid in July or August faces soil temps above 90°F, root failure rates are significantly higher.
Warm-season vs. cool-season: picking the right grass for your timing
Your grass type shapes your timing window more than anything else.
Warm-season grasses (bermuda, kikuyu, zoysia, St. Augustine) go dormant when soil drops below 55°F. Installing them in fall means they root before dormancy; installing them in winter means very slow establishment and brown-looking sod for months. These grasses are drought-tolerant once established and handle San Diego summers well. They’re the dominant choice in the county.
Tall fescue stays green year-round in San Diego but needs cooler soil to germinate and root well. It thrives in shaded yards and higher-elevation neighborhoods (Poway, Ramona, Alpine) where warm-season grasses struggle. Fescue installed in summer heat will brown fast and require aggressive watering. For fescue, October through February is the sweet spot, it roots actively while warm-season grasses are dormant.
If you’re not sure which grass your yard needs, our guide on the best grass types for San Diego lawns covers the tradeoffs in detail.
Why fall is the prime window for most San Diego homeowners
Late September through November hits a narrow climate sweet spot:
- Soil holds summer warmth. Ground temperatures stay 65–80°F well into October, which warm-season roots need to knit into the soil.
- Air cools down. Daytime highs drop from the 80s to the mid-60s, cutting evaporation and reducing irrigation demand.
- Rain becomes reliable. San Diego averages 0.8–1.4 inches in November, not enough to replace irrigation, but enough to help.
- Weed pressure drops. Summer annual weeds are finishing their cycle, giving new sod less competition.
- Establishment before spring. A fall lawn is fully rooted before the first spring growth surge, it comes out thick and ahead of weeds.
The result is that fall sod typically needs about half the water of summer sod and has a higher first-year survival rate.
Summer sod: possible but demanding
Summer isn’t a dealbreaker, but it costs more in time and water. New sod laid in July in Escondido or El Cajon may need watering three times per day for the first two weeks to keep soil from drying out. That’s a real commitment.
If summer is your only window, coastal neighborhoods (Del Mar, La Jolla, Encinitas) are more forgiving than inland ones. Choose heat-tolerant bermuda or St. Augustine over kikuyu or fescue. Set up a drip-edge irrigation run specifically for the perimeter, where sod dries fastest. For a full breakdown of what summer watering looks like once established, see our summer lawn watering schedule for San Diego.
Curious what all of this costs? See our detailed sod installation cost guide for San Diego, it covers material, prep, and labor separately so you can budget accurately.
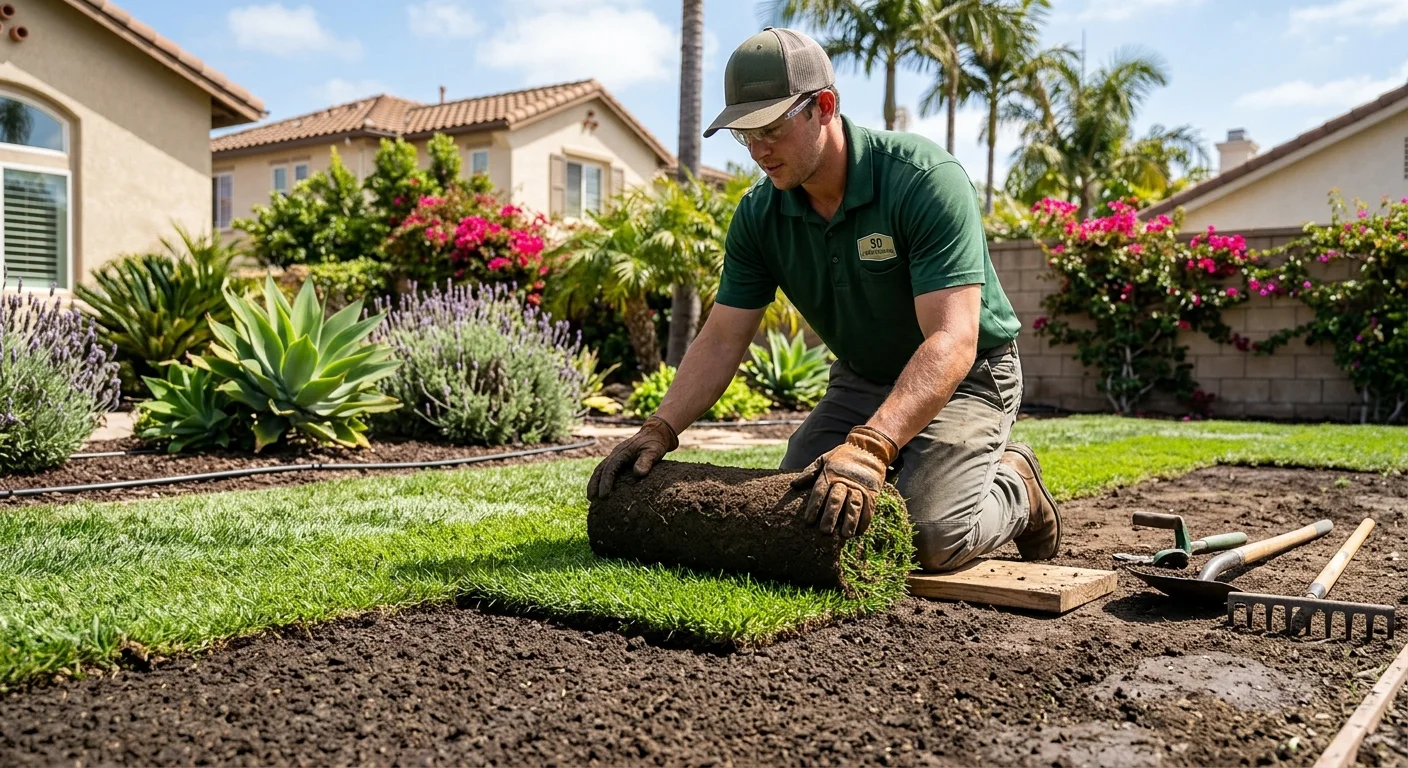
Soil prep: the work that happens before timing matters
Timing sets up the conditions; soil prep determines whether the sod survives them.
- Clear the area. Remove existing turf, weeds, rocks, and debris. A sod cutter works faster than manual removal for large areas.
- Test the soil. San Diego soils range from sandy loam near the coast to heavy clay inland. A basic soil test reveals pH and nutrient gaps. Target pH 6.0–7.0 for most grasses.
- Amend with compost. Work 2–4 inches of compost into the top 6 inches. Compost improves drainage in clay soils and water retention in sandy ones.
- Grade for drainage. Create a gentle slope away from foundations. Standing water after irrigation is a root rot setup.
- Verify irrigation coverage. Install or adjust sprinklers before sod goes down, retrofitting later means cutting into established turf.
- Level and firm the surface. Roll lightly so boots don’t sink. Good sod-to-soil contact in the first 24 hours is the biggest single factor in root establishment speed.
The first 30 days after installation
Days 1–7: Water 2–3 times daily, 10–15 minutes per zone. Lift a sod corner, if the underside is moist, you’re good. If dry, add a watering cycle.
Days 8–14: Check for rooting. Lift a corner gently, resistance means roots are taking hold. Reduce to 1–2 waterings per day.
Days 14–21: First mow when grass reaches 3.5–4 inches. Set the blade high, never remove more than one-third of the blade at once. Keep traffic light.
Days 21–30: Transition to deep, infrequent watering (every other day, longer run times). This trains roots to grow downward rather than staying shallow. For drip and spray timing by grass type, see our summer lawn watering schedule, the principles apply year-round in San Diego.
For ongoing care after sod is established, our sod installation service page outlines what a professional installation typically includes.
Frequently asked questions
What is the best month to lay sod in San Diego?
October is the best single month for most San Diego homeowners. Soil temperatures are still in the 65–75°F range, air temperatures are mild, and both warm-season and cool-season grasses root actively. Bermuda, kikuyu, and fescue all establish well in October with moderate watering needs.
Can you install sod in San Diego in summer?
Yes, but it requires more effort. Coastal areas (Del Mar, Encinitas, La Jolla) handle summer sod better than inland areas (El Cajon, Santee, Ramona). In inland neighborhoods, soil can exceed 90°F in July and August, and new sod may need watering three times per day. Choose bermuda or St. Augustine, never fescue, for summer installs.
How long until you can walk on new sod in San Diego?
Plan on 2–3 weeks before light foot traffic and 4–6 weeks before normal use. Warm-season grasses installed in fall root faster in San Diego’s warm soil and may be ready at the 2-week mark. Fescue installed in cool weather roots slower. Test by trying to lift a corner: if it resists, the sod is anchoring well.
How much water does new sod need in San Diego?
During the first two weeks: 20–30 minutes per zone, 2–3 times per day, depending on temperature and time of year. Fall-installed sod needs less frequent watering than summer sod because evaporation rates are lower. After establishment (week 3–4), deep, infrequent watering, every 2–3 days, trains roots deeper and reduces water use. The San Diego County Water Authority recommends irrigating early morning (5–8 a.m.) to minimize evaporation.
Should I use sod or seed for a new San Diego lawn?
Sod for most homeowners. Seed is cheaper upfront but takes 2–4 months to reach usable coverage and requires consistent moisture during that entire window, which is harder to maintain in San Diego’s dry climate. Sod gives you an established lawn in 3–4 weeks and has a much lower failure rate. Seed makes sense for large areas where budget is the primary constraint and you can control foot traffic for several months.
Does San Diego’s coastal vs. inland location affect sod timing?
Significantly. Coastal areas stay 8–12°F cooler in summer and warmer in winter, which extends both the fall and spring windows. Inland zip codes (El Cajon, Santee, Alpine, Ramona) face hotter summers and occasional winter frosts that can stress new sod. If you’re in an inland area, prioritize the fall window (September–November) and avoid summer installation unless you have a dedicated irrigation system and can water multiple times per day.
When to call us
Soil prep, irrigation setup, and the first 14 days of watering all affect whether new sod thrives or fails. When the timing, prep work, or ongoing irrigation is more than you want to manage yourself, professional installation takes the guesswork out of it. Call us at (760) 400-6355 for a same-day estimate.